How to Replace Images in a PDF for Free

Summary :
This article shows you how to use PDFgear’s free online editor, desktop software, and mobile app to replaces any images in PDF files for free.
Table of Contents
Whether you’re updating a report, fixing a mistake, or just upgrading the design, replacing better images keeps your PDF looking sharp and relevant.
On this page, you’ll learn how to effectively replace images in a PDF for free.
Replace Image in PDF Online for Free
PDFgear online editor provides a simple approach to replacing images in PDF by adding images to PDF that cover the unwanted images.
PDFgear works in a web browser, it’s free to use, there’s no signup, and there’s no watermark.
Step 1. Go to PDFgear online PDF editor, and click the Select PDF File button to open the PDF you need.
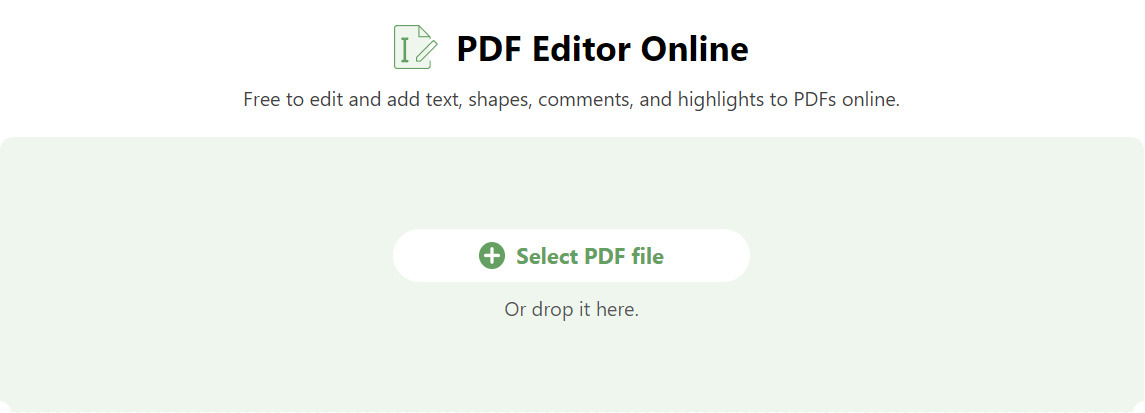
Select PDF file
Step 2. To add an image to the PDF, click the Add Stamp button from the upper menubar, and click Custom Stamp.
Then choose an image from your device to add to the PDF.
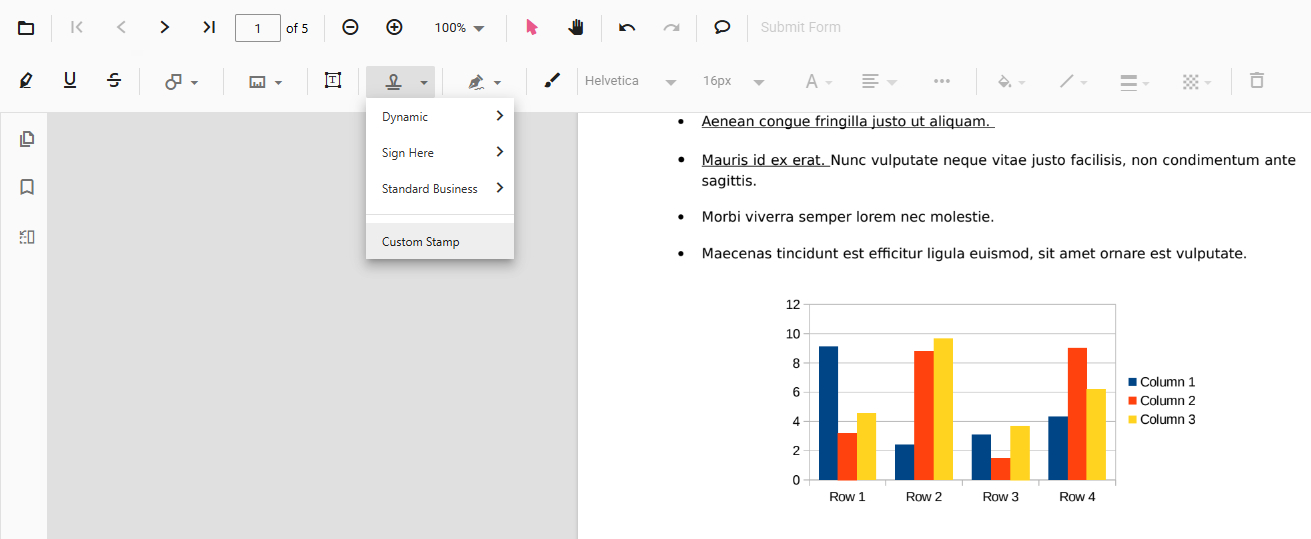
Custom Stamp
Step 3. Drag on the corner of the added image to resize it, so as to cover the original image you want to replace.
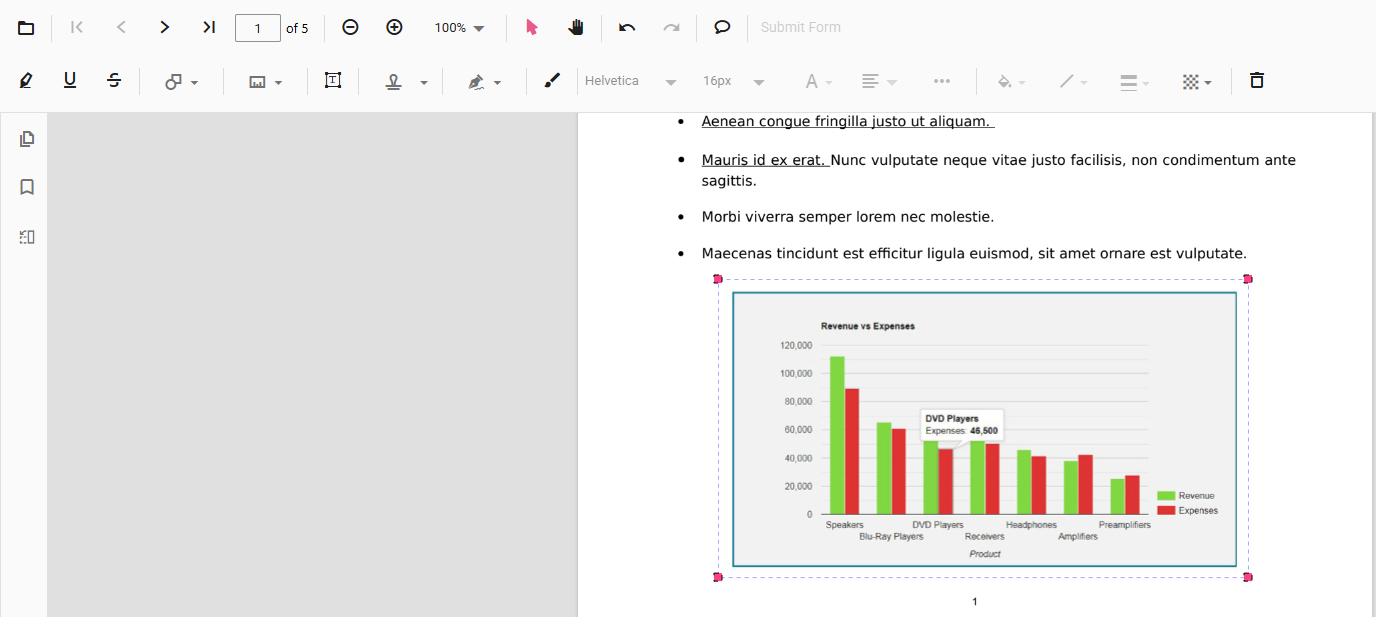
Resize to Replace
Step 4. Now it’s time to save the new PDF. If you want to permanently replace the image, click the Print file button upper-right corner.
To save the PDF with the replacement history (which can be reverted), click the Download file button instead.

Print file
Select and Replace Image in PDF for Free
PDFgear software is a more reliable option if you want to permanently replace images in PDF files without formatting issues.
It allows you to select an existing PDF image, and replace it with another image on your device locally, without affecting other parts of the PDF document
PDFgear is free to use, and it works on Windows and Mac.
Replace existing images in PDF files without formatting issues for free.
Step 1. Download and install PDFgear on your computer. Open PDFgear, and click Open File to open the PDF you need.
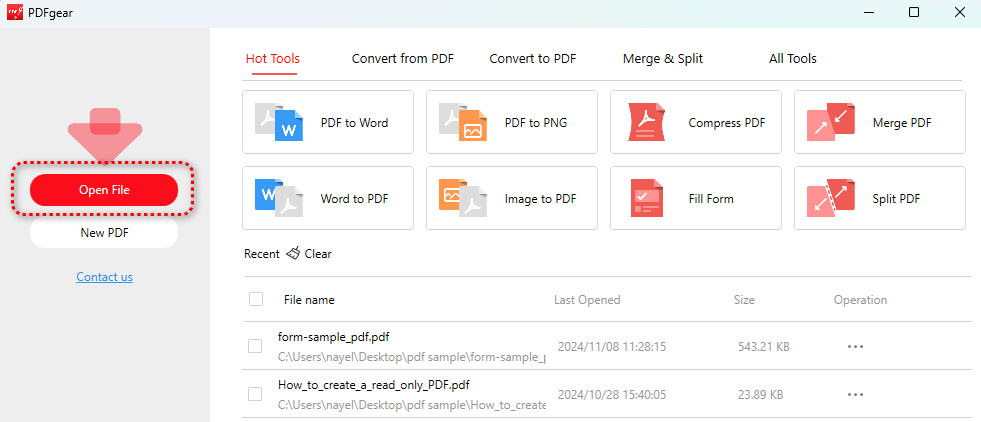
Open File
Step 2. When the PDF is opened, locate and click on the PDF image, and a toolbar will pop up on the right side. Click the Replace option within.
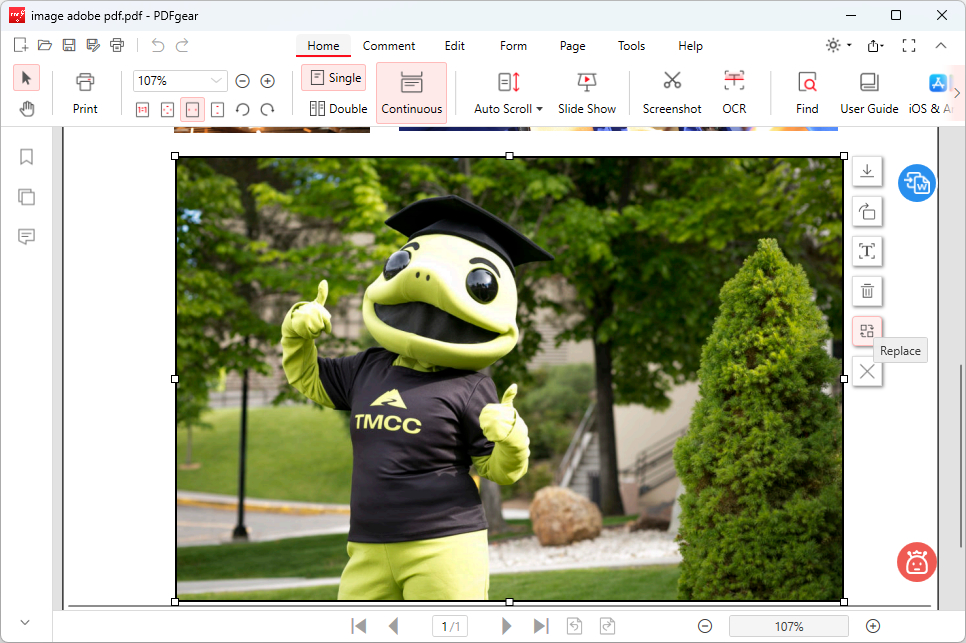
Click Replace
Step 3. Choose a image file from your local storage to replace the image.
Then drag on the corner of the inserted image to resize it, so that it’s in the correct position and with the correct aspect ratio.
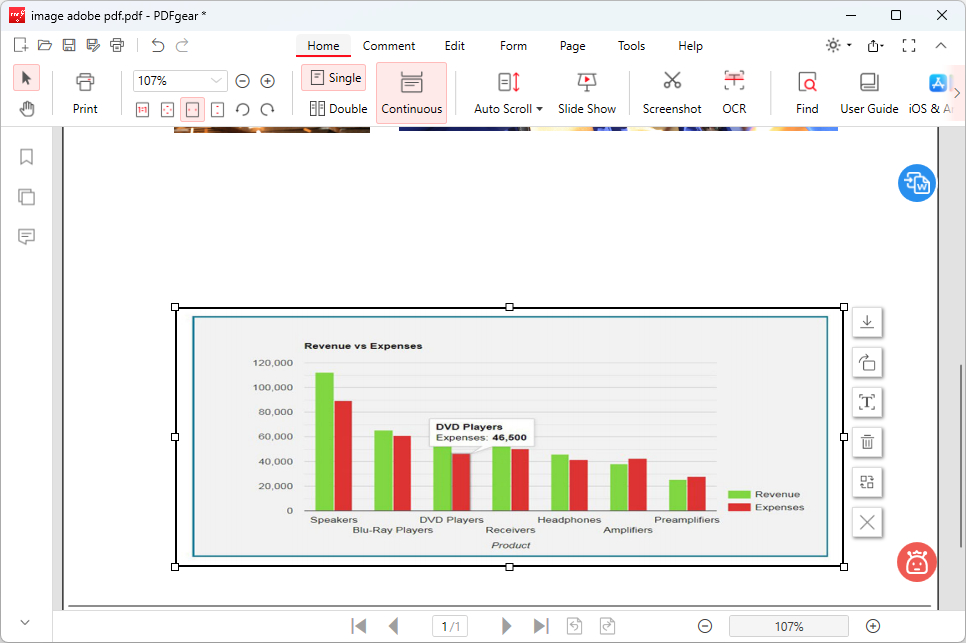
Image Replaced
Step 4. If you can’t select the image, that means the PDF or the image object is uneditable.
In that case, go to the Edit section and click Add Image. Add a image and resize it to replace the uneditable image.

Add Image to Replace
Step 5. Lastly, go to the upper-left corner and click Save as to save the PDF with replaced images.
Click Save as
Replace Images in PDF on Mobile
PDFgear’s handy mobile app lets you swap out images in PDFs right from your mobile. No more fussing with a computer!
Whether you’re on the go or just chilling on the couch, PDFgear makes it a breeze to update flyers, reports, or any PDFs with new visuals.
Now get the PDFgear app for free from the Apple Store or Google Play!


Step 1. Open the PDFgear app on your mobile phone, tap the lower-right Plus button to add the PDF into PDFgear, and tap on it in the Files list to open it.
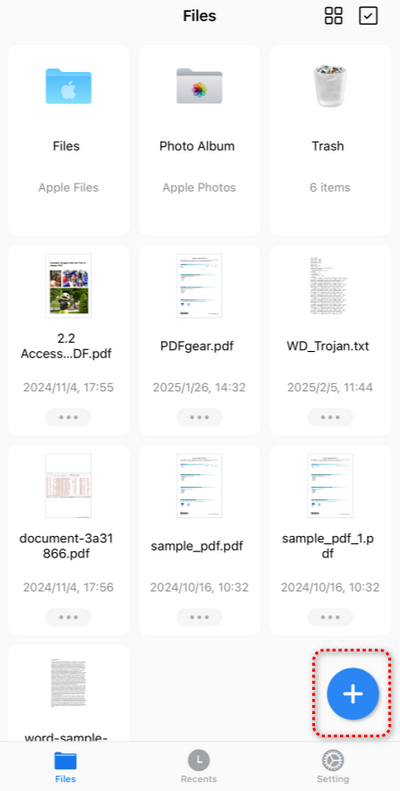
Tap Plus
Step 2. Once the PDF is opened, tap the upper-right Edit button.
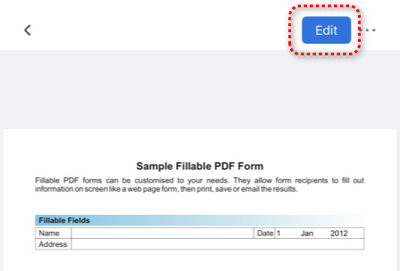
Tap Edit
Step 3. Tap the upper Annotate button and switch to the Edit Image mode.
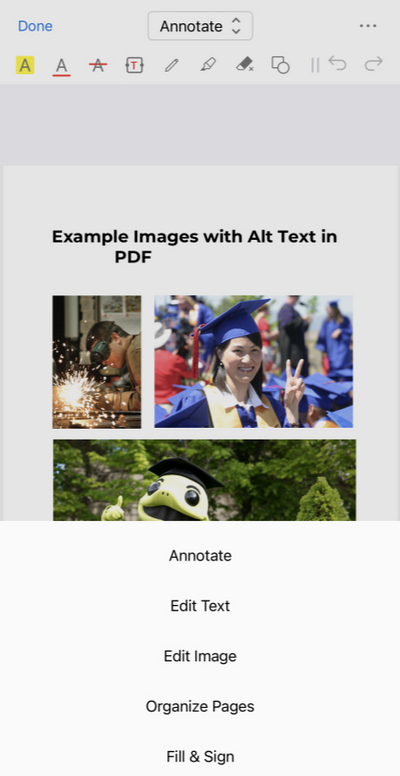
Edit Image
Step 4. Tap on the image you need to replace, and tap the Replace button in the pop-up menu.
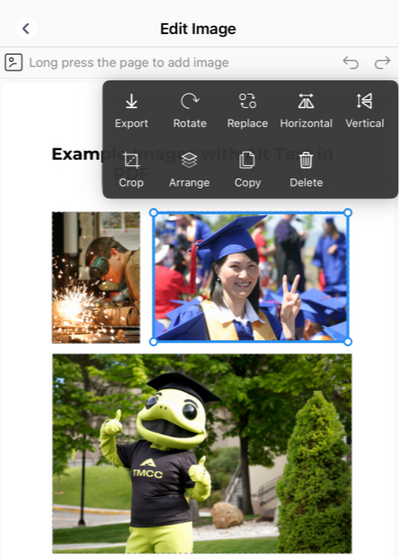
Tap Replace
Step 5. Select the desired image on your phone to replace it. Then drag on the corner of the replaced image to resize it at will.
When you’re happy with the new image, tap the top-left < button to leave the image editing mode.
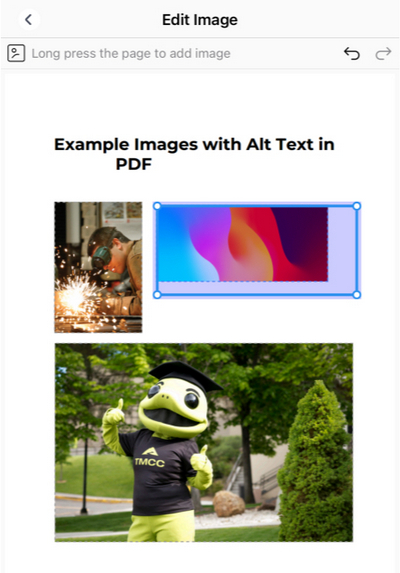
Resize Image
Step 6. Lastly, tap the upper-right triple dots button to save or share the new PDF.
Save PDF
FAQs
Will replacing an image affect the quality of the PDF?
It depends on the resolution of the new image. Using a high-resolution image helps maintain quality.
Can I replace multiple images in a PDF at once?
No, batch-replacing images in PDF may cause formatting issues and is not supported in PDFgear, you’ll have to replace every image one by one.
Is it possible to replace an image in a PDF using Microsoft Word?
Yes, by converting the PDF to a Word document, replacing the image, and then saving it back as a PDF, but this may alter the formatting.
What types of images can I insert into a PDF?
PDFgear supports common image file formats like JPG, PNG, GIF, and BMP.
How do I ensure the replaced image has the right resolution?
Before inserting, check the image’s resolution. It should match or exceed the resolution of the original image to maintain quality.
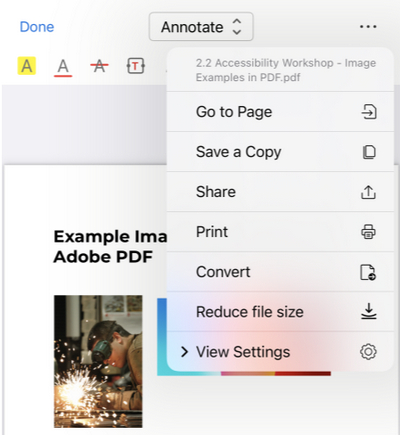
How do I replace an image using Adobe Acrobat?
Open the PDF in Adobe Acrobat, select the Edit PDF tool, right-click on the image, and choose Replace Image. Then, browse for the new image and click Open.